Royaume-Uni
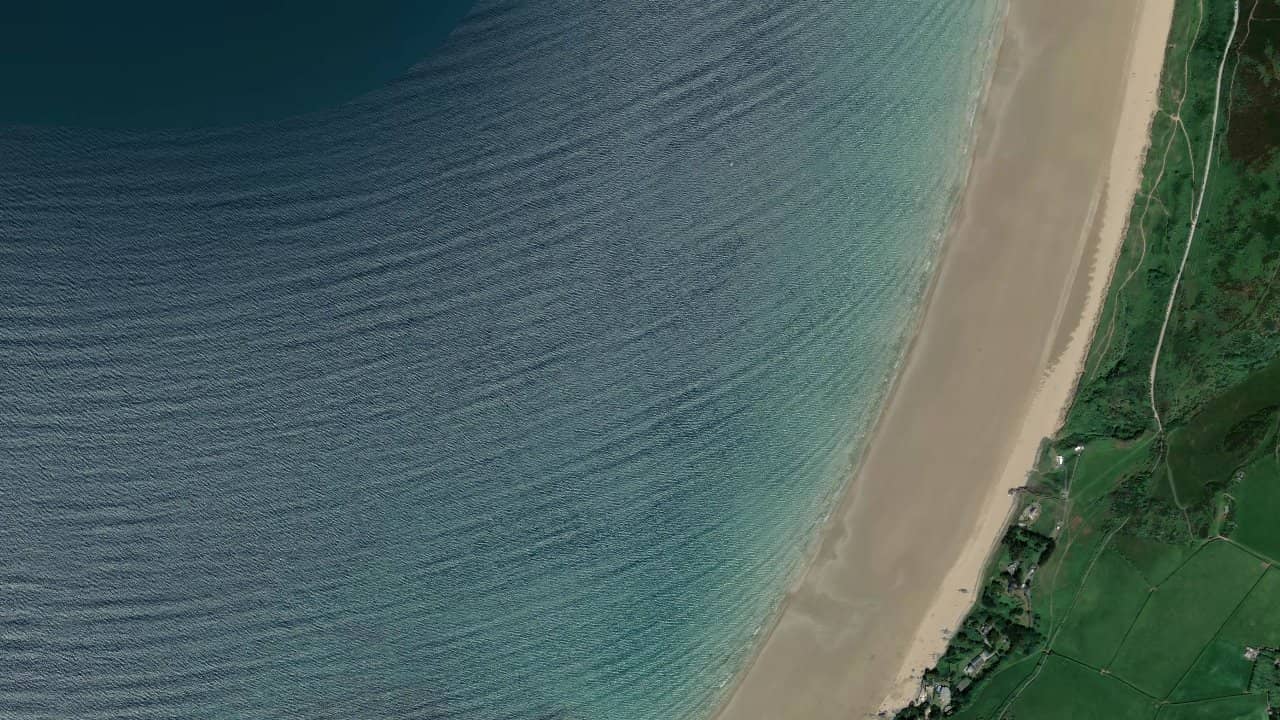
Putsborough Sands, on the coast of North Devon near Woolacombe, is a popular spot for its large sandy beach and relatively easy access. It is a sought-after place by local riders for its often calmer conditions than other beach breaks in the bay.
The spot works best when the swell comes in well from the Atlantic, with a more sheltered setting than the northern part of Woolacombe. In kitesurfing, Putsborough is appreciated for its consistent conditions, its launch area, and its generally less crowded atmosphere.
The beach attracts both freeriders and those looking for a more relaxed session, especially when the wind is well-oriented and the tide leaves room to navigate. However, the spot should be read carefully, as conditions can change quickly depending on the tide and swell size.
Les données de vent affichées ici proviennent d’ERA5 (via Open-Meteo) sur 4 ans, retraitées pour refléter des conditions réalistes.
👉 Le vent moyen a été calibré pour éviter la sous-estimation habituelle des modèles.
👉 Les rafales ont été corrigées par un ratio médian afin d’éviter des valeurs extrêmes irréalistes.
👉 Chaque jour est résumé par le vent médian (P50) observé pendant les heures utiles (8h–20h), puis classé dans des plages de vent.
👉 Le mode pondéré mélange vent moyen et rafales pour refléter au mieux le vent ressenti.
The spot is generally more favorable with a wind from the W to NW sector, which often arrives side-shore to side-on on the beach. With a wind from the SW sector, conditions can become more comfortable than elsewhere in the bay, as Putsborough is better sheltered than the most exposed area of Woolacombe. A wind that is too onshore can quickly make navigation more physical, especially if the swell increases, while a wind that is too offshore should be avoided for obvious safety reasons.
The water surface depends a lot on the tide and the size of the waves. At low tide, there is often more space and a more readable navigation area, with a sea that can remain quite clean at the shore. At high tide, the usable beach reduces, waves may break closer to the shore, and the shorebreak becomes more present. The spot remains primarily a beach break, so one should expect a water surface that can go from relatively orderly to significantly more agitated as soon as the swell comes in strongly.
Launching is done from the large sandy beach, with a take-off area to be chosen far from other beach users. The best navigation direction depends on the wind of the day, but it is important to keep space for take-off and return phases, as the bay can quickly become crowded with bathers, surfers, and walkers in high season. The spot is more comfortable when the tide leaves a wide band of sand and when the swell remains moderate.
The best sessions occur with a well-established, consistent wind from W to NW that is not too gusty. A side-shore to side-on wind remains the most comfortable option to maintain amplitude on the beach and return easily to the shore. The beach also works well with a SW wind if the power remains clean and the tide offers enough space.
The spot is more enjoyable with moderate swell, as too much size makes take-off and return more technical. Ideal conditions therefore combine stable wind, tide offering space, and a sea sufficiently fed without being too big.
The water surface is rather mixed, with flatter sections at times but also chop and waves as soon as the swell comes in strongly. When the sea is small and the wind is well-oriented, one can find fairly clean areas for freeriding. As the swell increases, the spot takes on more of a wave beach break appearance.
The sandy bottom helps maintain a more forgiving navigation than on a rocky spot, but conditions remain highly dependent on the tide and the movement of the sandbanks. On days of low swell, the water can be quite smooth in certain sections of the beach, while on active days, the shorebreak and turbulence make the water more physical.
Currents are generally moderate, but they can become more pronounced near breaking zones and when the tide rises or falls quickly. It is important to stay attentive when returning to the beach, as the drift current can gradually shift the rider along the shore. Conditions become more technical when the swell increases and sandbanks shift.
The tide plays an important role in reading the spot. At low tide and mid-tide, navigation is often simpler, with more space and clearer markers. At high tide, the current may seem less visible, but waves break closer to the shore, complicating the take-off and return phases.
In typical conditions, the most useful sizes are often between 8 and 12 m² depending on the rider's weight and the actual wind strength. When the thermal or west flow is well established, a 9 m² or a 10 m² is often a good starting point for an average build. In lighter wind, a 11 m² or a 12 m² may be more suitable.
In strong wind, it may be necessary to go down to a 7 m² or an 8 m², especially if the swell is already present and the water becomes more physical. For this spot, it is better to plan for a fairly wide range of sizes, as Atlantic wind variations can be rapid.
The wind regime is dominated by Atlantic flows, with a good frequency of winds from the W, SW, and NW sectors. At this spot, west and northwest winds are often the most interesting for kitesurfing, as they arrive at a cleaner angle on the beach. Southwest winds can also work, especially when they are not too irregular and remain stable in intensity.
During disturbed periods, wind gusts can be marked and irregular, with more sensitive gusts near the shore and on the crest line of the dunes. The most exploitable days are those when the wind remains consistent and well-set between moderate and strong force. In practice, the spot is easier to exploit when the direction does not push too offshore and when the breeze does not close the bay too much.
The local climate is of the oceanic type, with mild but changeable temperatures throughout the year. Summers are generally cool to mild, and winters remain humid, windy, and sometimes quite mild for the latitude. The wind and swell can strengthen quickly under the influence of Atlantic depressions.
The most interesting months for kitesurfing are often January and March, when disturbed systems more frequently bring wind and swell. In summer, temperatures are more pleasant for spending long hours on the water, but days can be calmer and wind windows shorter. The late season can also offer good sessions, with fewer people on the beach.
The depth is gradual and the bottom is mainly sandy. One can generally stand at a good distance from the shore, which facilitates launching and the first meters of navigation. However, the spot remains very dependent on the profile of the sandbank and the tide.
At low tide, shallow areas extend further, making take-off simpler but requiring attention to bottom variations. At high tide, the depth increases more quickly near the shore, and the shorebreak becomes more present. The sandy bottom is reassuring, but it does not exempt one from monitoring the banks and the deformations of the backwash.
The water remains cool for a large part of the year, with conditions often close to 8 to 12 °C in winter. In spring and early summer, temperatures are more often around 11 to 14 °C, while in late summer and early autumn, the temperature can rise to 15 to 17 °C during the best periods.
A full wetsuit is therefore necessary almost all year round, with thicker suits in winter. Gloves, booties, and sometimes hoods are often useful during the coolest sessions, especially when the wind picks up and the air remains humid.